ARCOS Knowledge Base
Upload Patient Visit Images
- Navigate to the Patient Visit Management matrix for a patient.
- Select the “Upload Images” button for a selected visit and modality.
- “Visit Registration” screen:
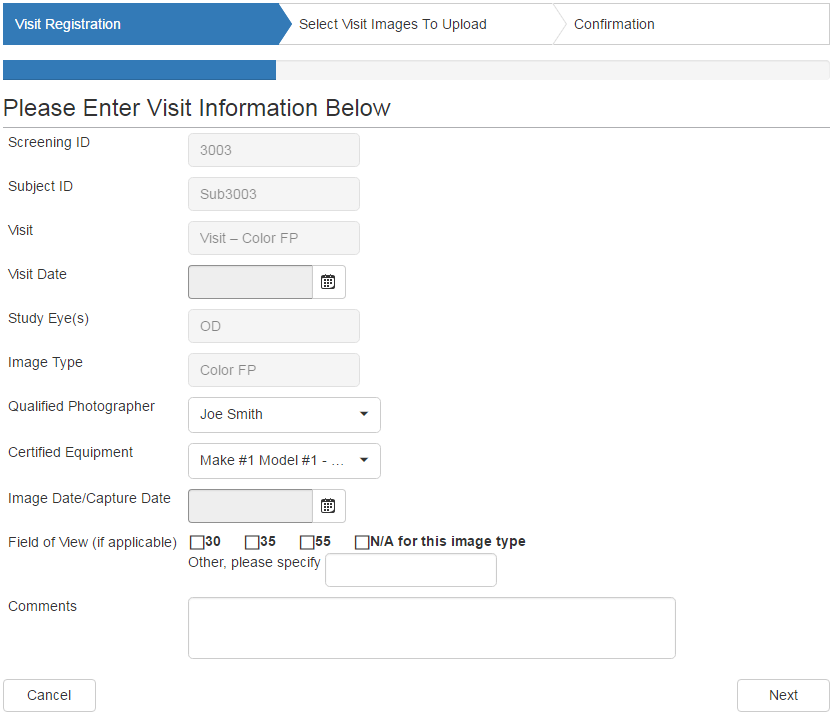
- Enter the required visit information, including any comments.
- Only photographers that are qualified for the selected image type at the study site may be selected.
- Only equipment that is certified for the selected image type at the study site may be selected.
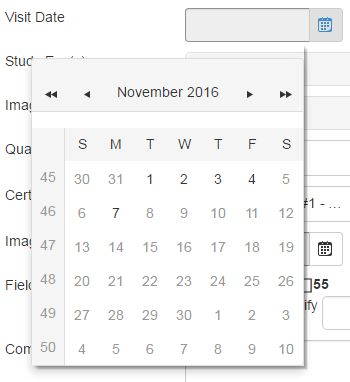
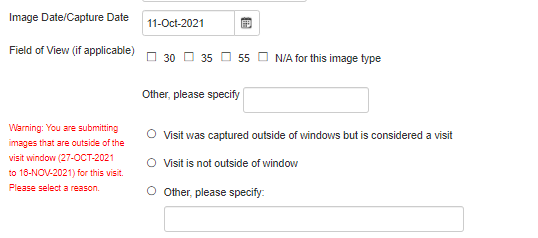
- For Date fields, select the calendar icon to the right. Only the days that are acceptable to select will be highlighted and selectable. Future dates cannot be selected.
- If the Image Date/Capture Date entered is outside of the estimated window, a set of questions will appear which need to be answered in order to proceed.
- Select the “Next” button (extreme bottom right) to continue.
- “Select Visit Images to Upload” screen.
- Prepare images files to be uploaded. See: Combining Images Into a Zip File.
- Select either the empty field, or the “Select” button.
- Navigate to the zipped file created above and select it by double-clicking the zip filename, or single-click on the zip filename and then select the “Open” button.

- The green circle to the left of the file name confirms that the zipped file has been uploaded successfully.
If the circle is red, please retry.
If still unsuccessful after retrying, contact the DIRC.
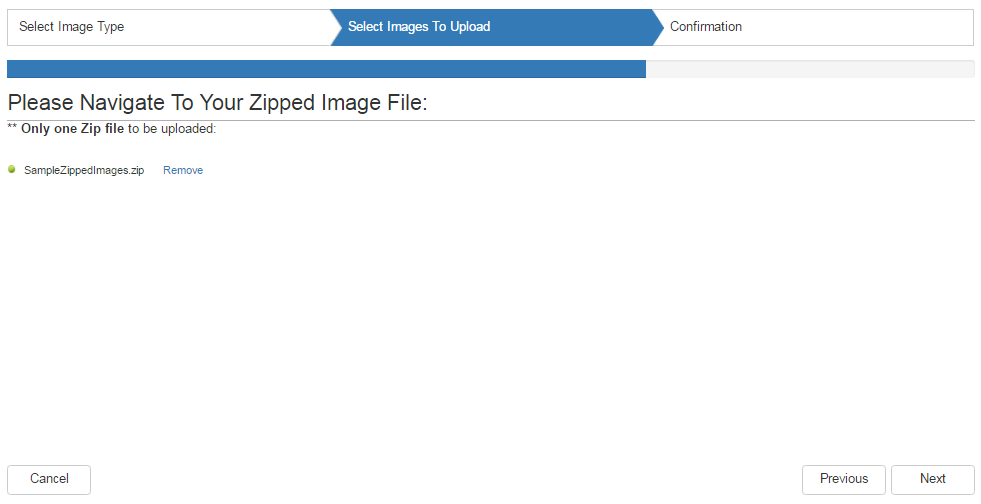
- Select the “Next” button (extreme bottom right) to continue.
- “Visit Summary” screen:
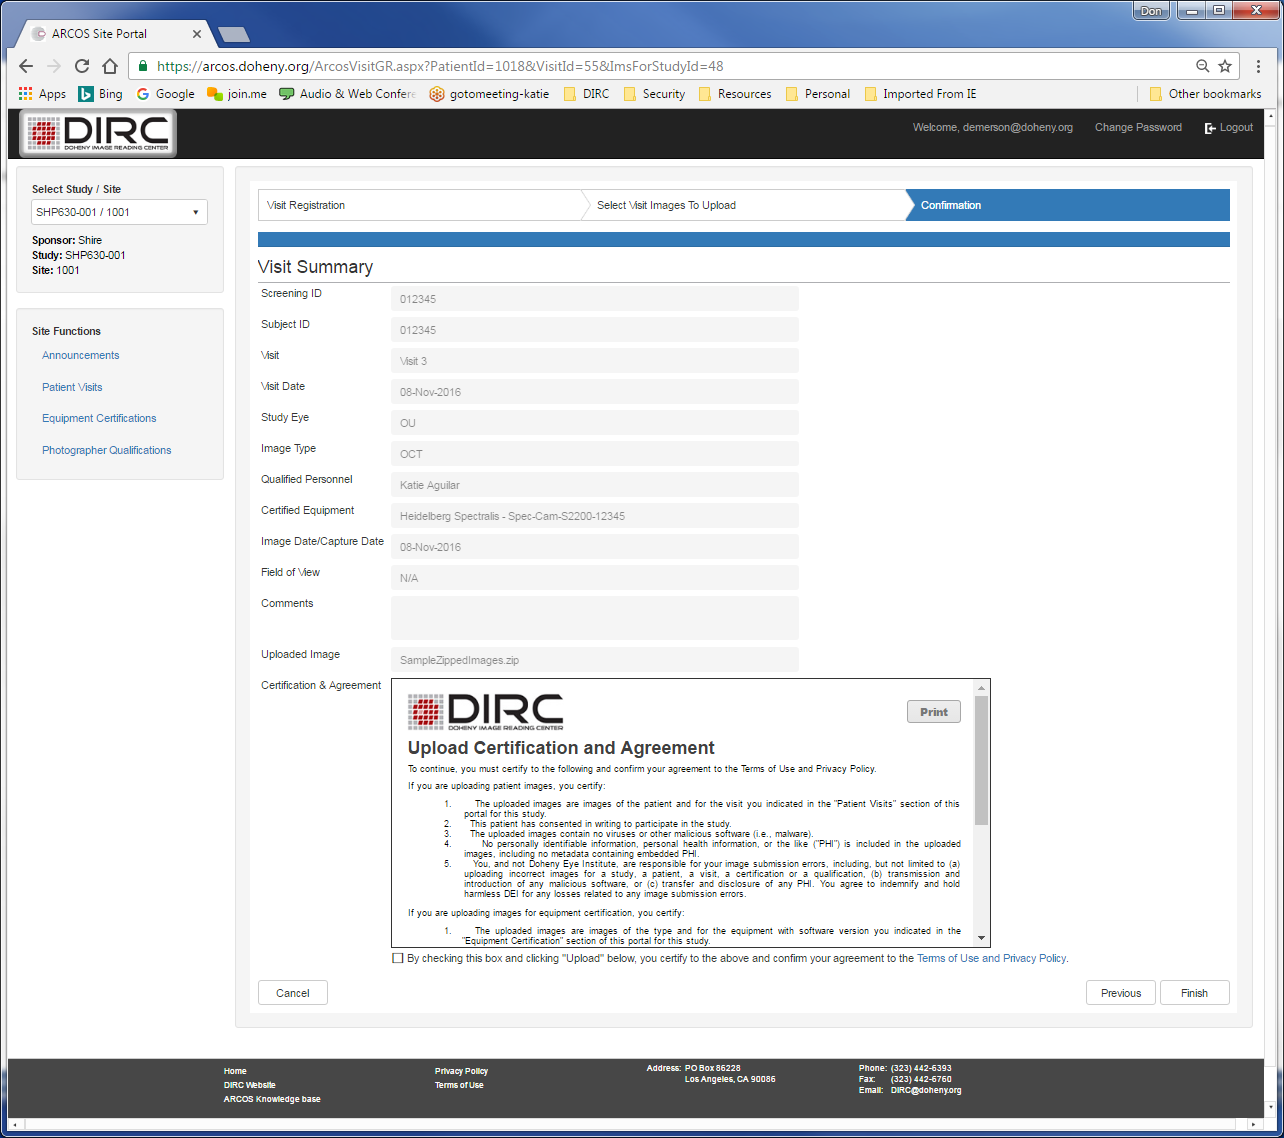
- Review and confirm that the Visit Summary reflects the correct information to be submitted.
- If anything needs to be modified, select the “Previous” button to return to the previous screens to make the changes.
- Select the checkbox to signify your agreement to the Upload Certification and Agreement.
- Select the “Finish” button, (extreme bottom right) to continue.
- Confirmation Screen

- A confirmation number will be displayed once the images have been submitted.
- Select the “OK” button to return to the Patient Visit Management screen.
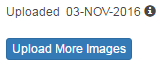
- On the Patient Visit Management screen, the status of the upload will show “Uploaded” under the associated modality column for the visit.