ARCOS Knowledge Base
Requalify a Photographer
A photographer must be qualified for the specified Image Type within ARCOS to submit Patient Visit images of that image type.
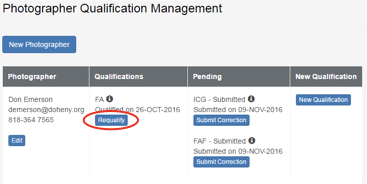
- Locate the photographer to be requalified from the Photographer Qualification Management screen.
- Select the “Requalify” button associated with the desired Image Type under the Qualifications column.
- “Select Image Type” screen:
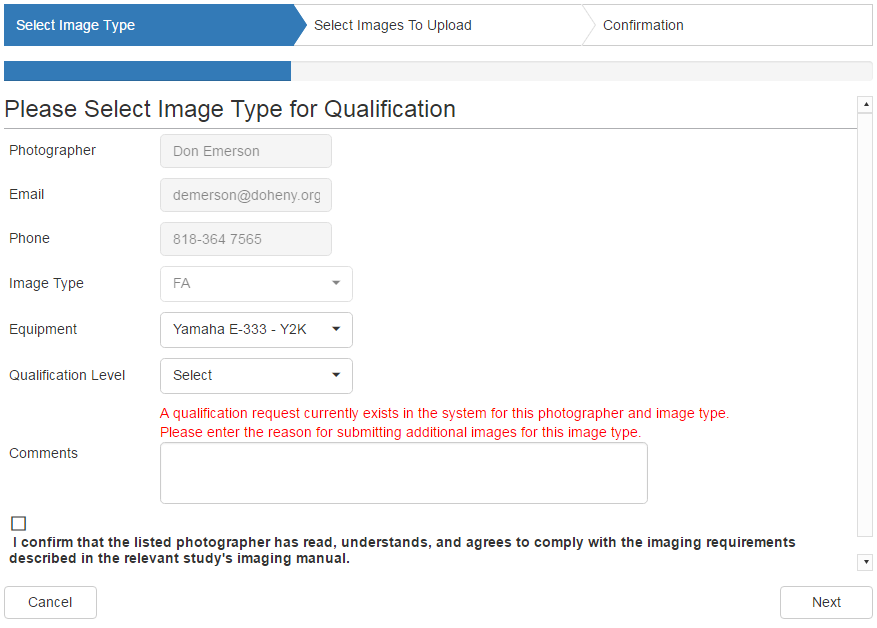
- Select the Qualification Level that applies (required).
Note: The corresponding details are described in the study’s imaging manual.- Full qualification
- Semi-expedited
- Expedited
- Provide Comments, as needed for clarification (required).
- Confirm with the photographer that s/he has read the study imaging manual and agrees to follow the procedures, then select the checkbox to confirm.
- Select the “Next” button (extreme bottom right) to continue.
- Select the Qualification Level that applies (required).
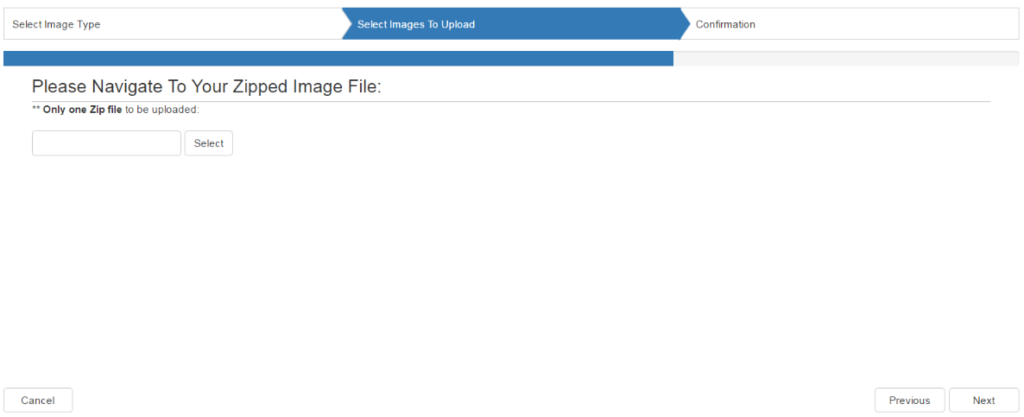
- “Select Images to Upload” screen.
- Prepare images files to be uploaded. See: Combining Images Into a Zip File.
- Select either the empty field, or the “Select” button.
- Navigate to the zipped file created above and select it by double-clicking the zip filename, or single-click on the zip filename and then select the “Open” button.
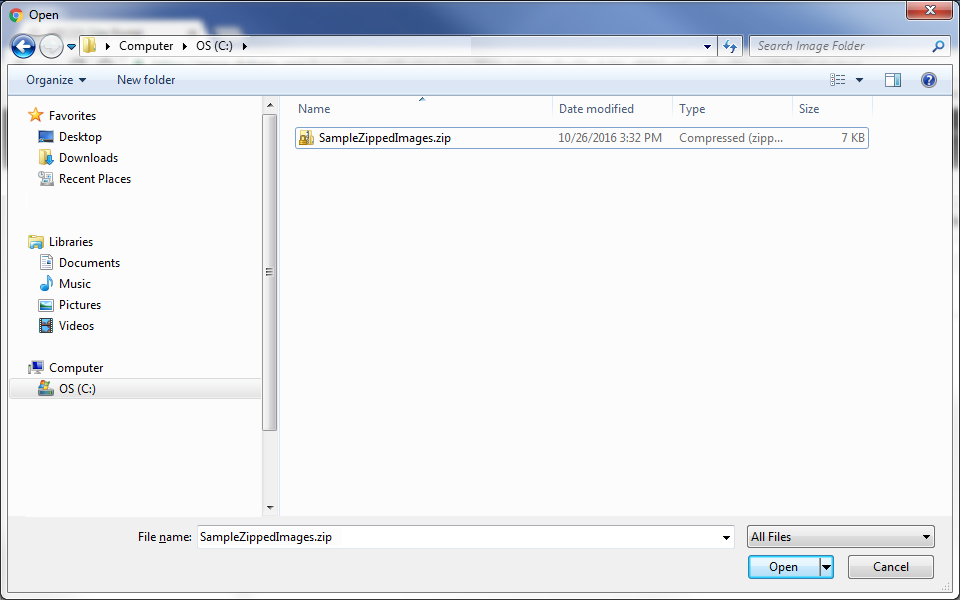
- The green circle to the left of the file name confirms that the zipped file has been uploaded successfully.
If the circle is red, please retry.
If still unsuccessful after retrying, contact the DIRC.
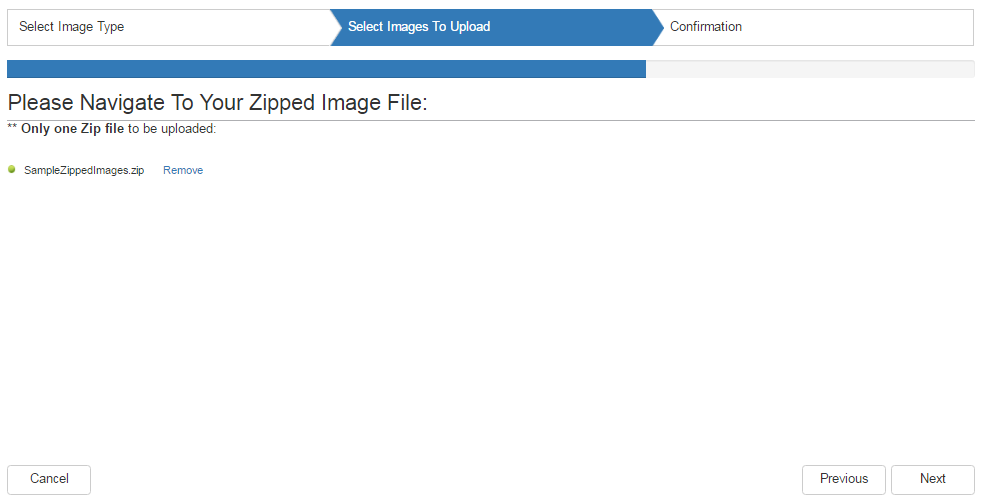
- Select the “Next” button (extreme bottom right) to continue.
- “Photographer Qualification Summary” screen:
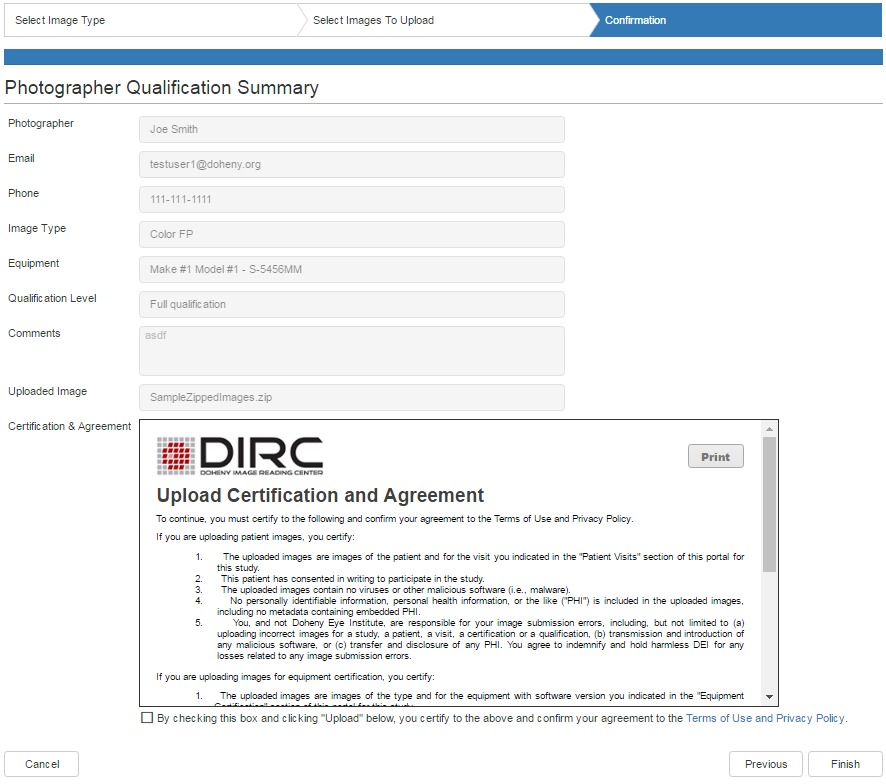
- Select the checkbox to signify your agreement to the Upload Certification and Agreement.
- Select the “Finish” button, (extreme bottom right) to continue.
- Confirmation screen
- A confirmation number will be displayed once the images have been submitted.
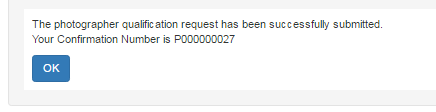
- A confirmation e-mail containing the supplied details is sent to the registered account email address
- A confirmation number will be displayed once the images have been submitted.
- Select “OK” to return to the Photographer Qualification Management screen.
- On the Photographer Qualification Management page, the status of the qualification will show “Submitted” under the “Pending” column.